Degoog Getting started
Get it running, get through the wizard (the tutorial one, nobody gets through the actual wizard... You'll learn), and get a search box that actually returns things.
If you are new to self hosting, click here to jump straight to our beginner guide at the bottom of the page where we walk you through setting up Docker from scratch.
1. Run the thing
Degoog listens on port 4444 by default and keeps everything it
owns in one data directory. Create that directory first and give
it to the user the container runs as (1000:1000 unless you change
PUID and PGID):
mkdir -p ./data
sudo chown -R 1000:1000 ./data
Docker Compose
Four ready-made compose files live in docker-compose-examples. Pick the one that matches how hard you plan to lean on it:
| File | What it runs | Good for |
|---|---|---|
simple.yml |
Degoog on its own | Personal use, low traffic. Lowest resource usage. Not as snappy. |
valkey.yml |
Degoog + Valkey | My personal favourite. Valkey is a key-value store that can be used to store settings, search results, and other data. This makes degoog feels SO fast. |
postgres.yml |
Degoog + Postgres | A busy instance with a large indexer. Handles concurrent writes better than SQLite. |
full.yml |
Degoog + Valkey + Postgres | High traffic public instance that wants both. |
mcp.yml |
Degoog + degoog-mcp | Exposing Degoog to LLM clients over the official Model Context Protocol. |
Plain Docker or Podman
docker run -d --name degoog \
  -p 4444:4444 \
  -v ./data:/app/data \
  -e DEGOOG_SETTINGS_PASSWORDS=change-me \
  --restart unless-stopped \
  ghcr.io/degoog-org/degoog:latest
Podman is the same command with podman and a :Z on
the volume. A Quadlet unit file is in the
project README.
Without a container
You need bun, git (the Store clones repositories with it), and curl (several transports shell out to it). And you will likely need to install curl-impersonate for some transports to work and some python libraries for the searx compatibility layer.
git clone https://github.com/degoog-org/degoog.git
cd degoog
bun install
bun run build
bun run start
Always start Degoog from the project root. Paths like
data/plugins are resolved relative to the working directory. If
HTTPS requests fail with certificate errors, install your distribution's
ca-certificates package.
2. Set a password (or find the generated one)
The settings area can install extensions, and extensions run code on your server. Degoog takes that seriously, so it refuses to be quietly open:
-
If you set
DEGOOG_SETTINGS_PASSWORDS, that is your password. It accepts a comma separated list if you want more than one. - If you do not, Degoog generates a one-off password for that run and prints it in the server logs. Look for the yellow "Temporary settings password" banner at startup. It changes every restart.
-
If you genuinely want no gate at all on a trusted local network, set
DEGOOG_DANGEROUSLY_NO_PASSWORD=true. The name is the warning.
See Environment variables for the
full picture, including DEGOOG_PUBLIC_INSTANCE and moving the
settings page to a secret URL.
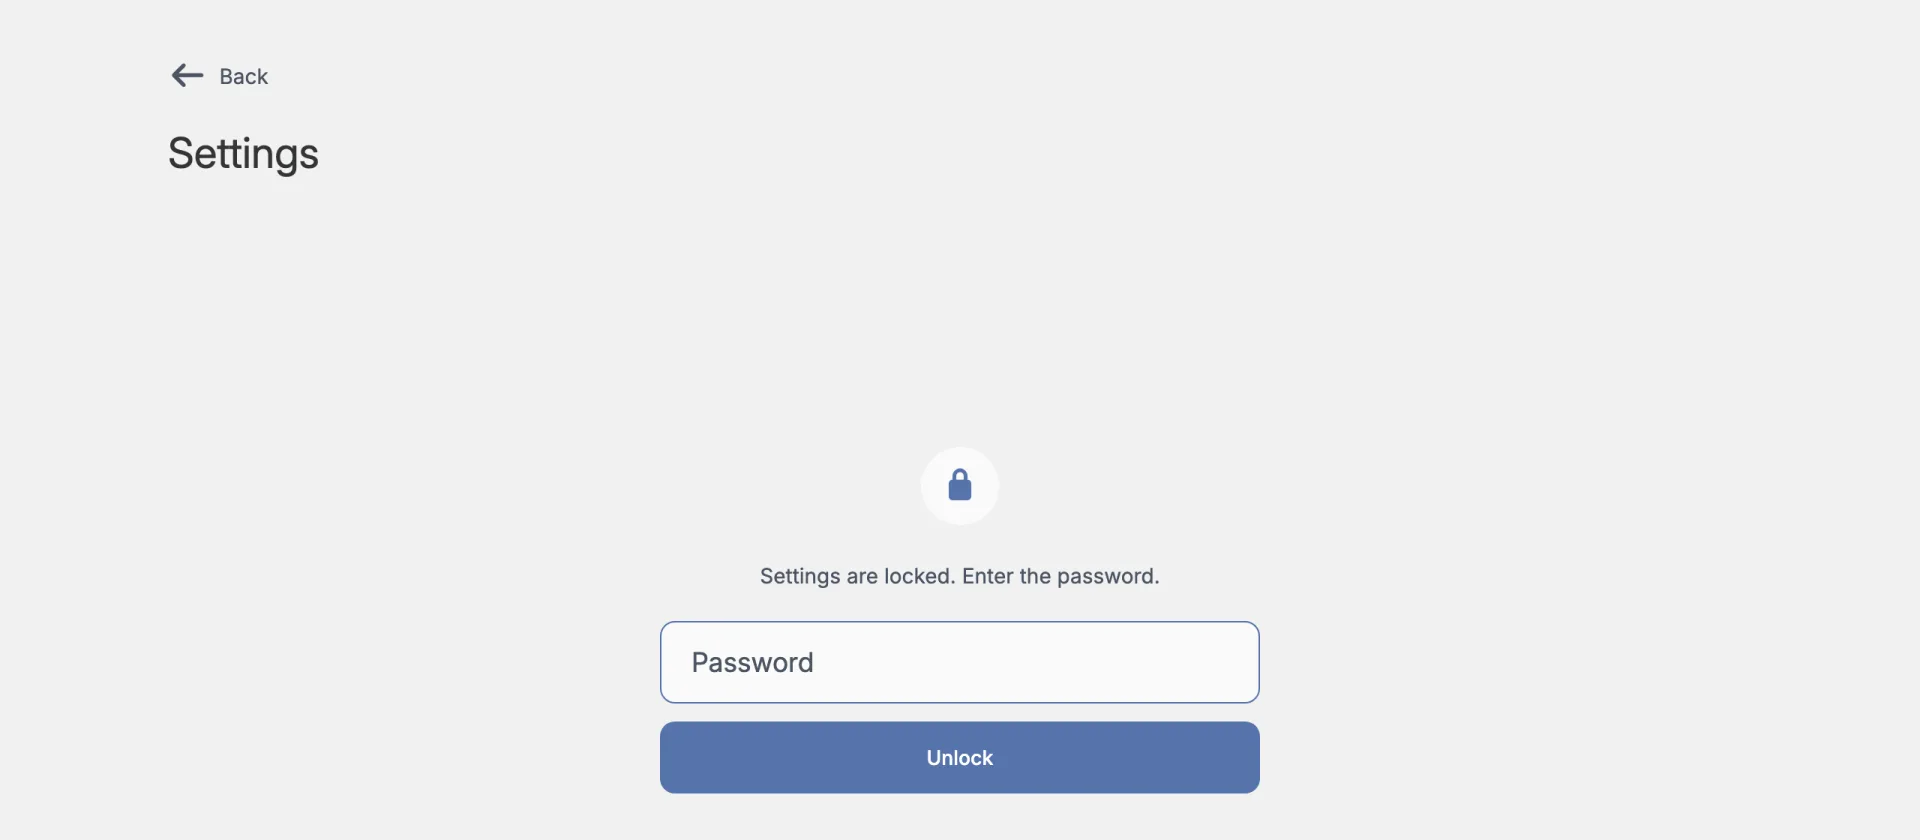
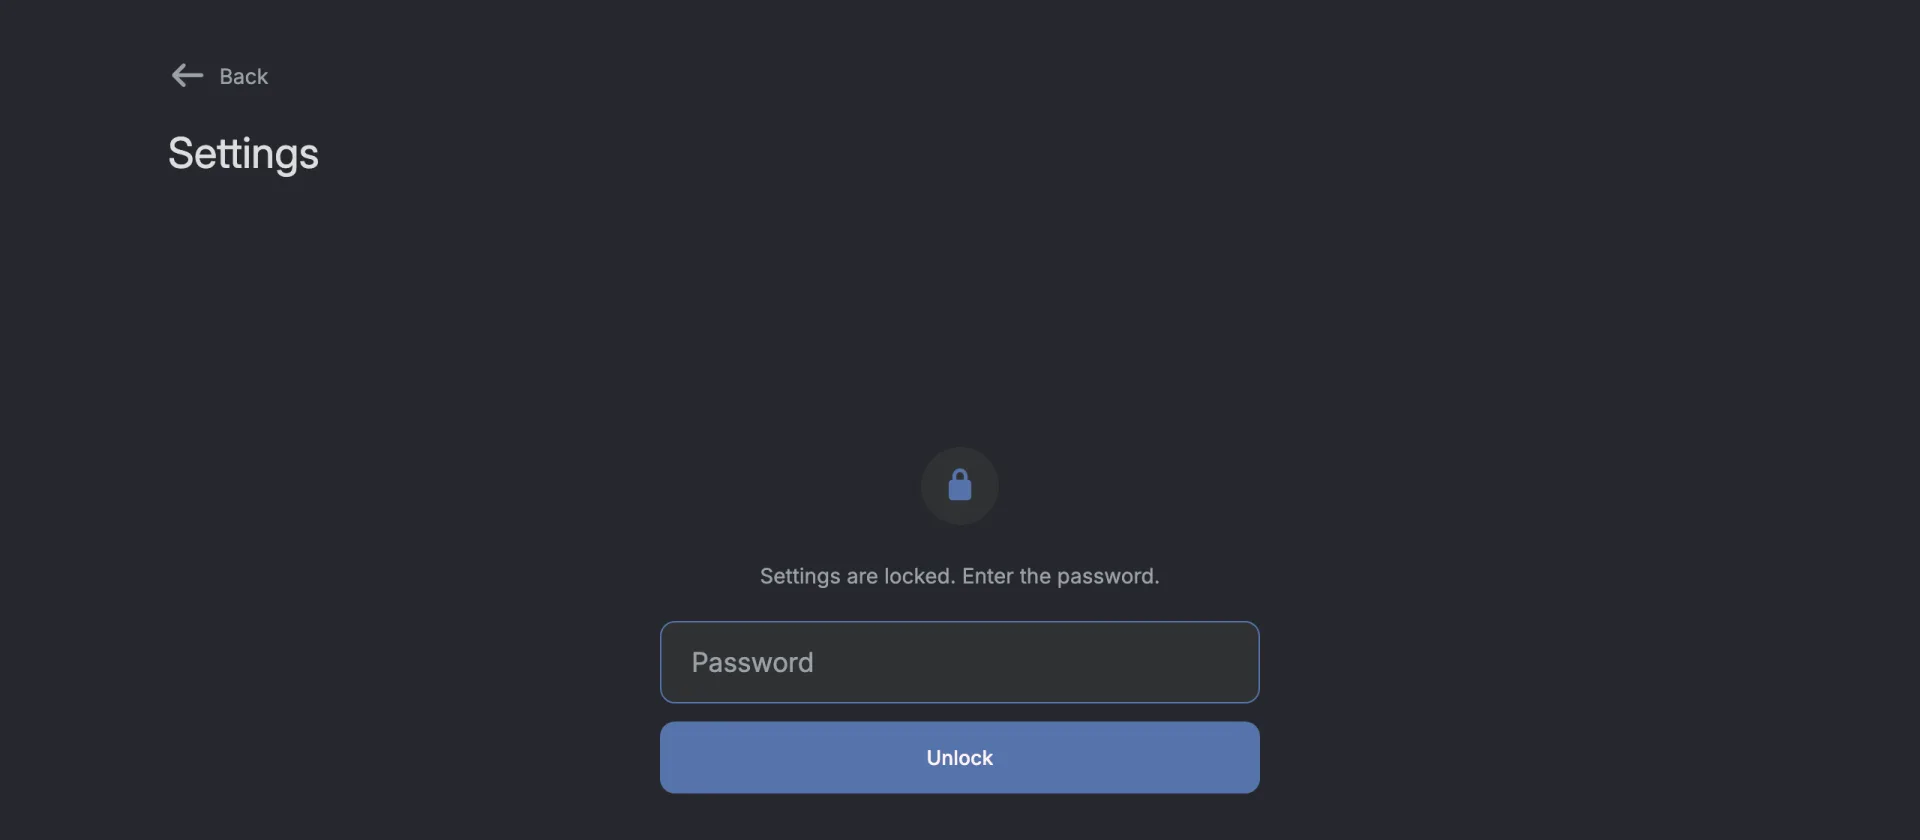
The gear icon in the top right of the home page takes you to settings, and this is what you'll see until you type the password in and hit Unlock.
3. The setup wizard (this is the friendly one)
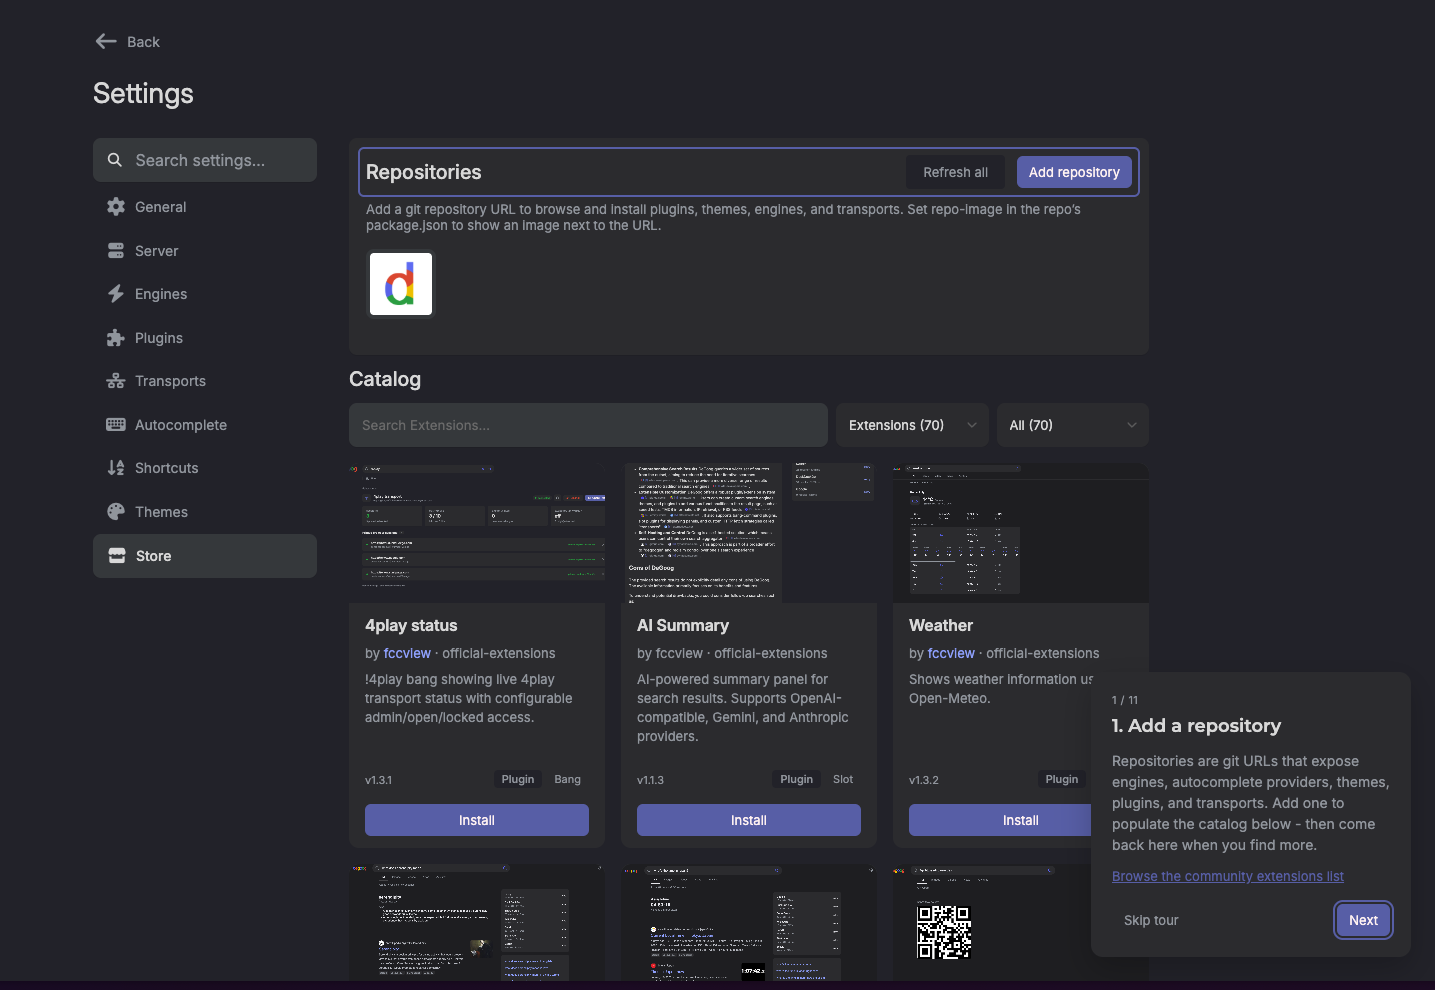
Open http://localhost:4444 and a guided tour starts on its own
the first time. It is worth following, because it walks you through the one
thing a new install genuinely needs: engines.
The tour covers, in order:
- The search bar, and where settings live.
-
Add a repository. A repository is a git URL that exposes
installable extensions. The official one is
https://github.com/degoog-org/official-extensions. There is also a community extensions list. - Install your first engines. The catalog gets filtered to engines. You need at least one to continue, and this is the step that makes search work at all.
- Install an autocomplete provider if you want live suggestions. Also none by default.
- Themes, plugins, transports are all optional and can wait.
- Enable and configure engines, then pick your autocomplete provider.
- Server settings, then a closing reminder about locking the instance down if it faces the internet.
You can skip the tour at any point, and restart it later from
Settings, General, Setup tour. To stop it appearing at all
(useful when provisioning instances automatically), set
DEGOOG_WIZARD=false.
Skipped the tour? Doing it by hand
The official repository is already added for you, so you can go straight to the Store.
-
Open Settings, Store and switch the first drop-down under Catalog from Extensions to Engines.
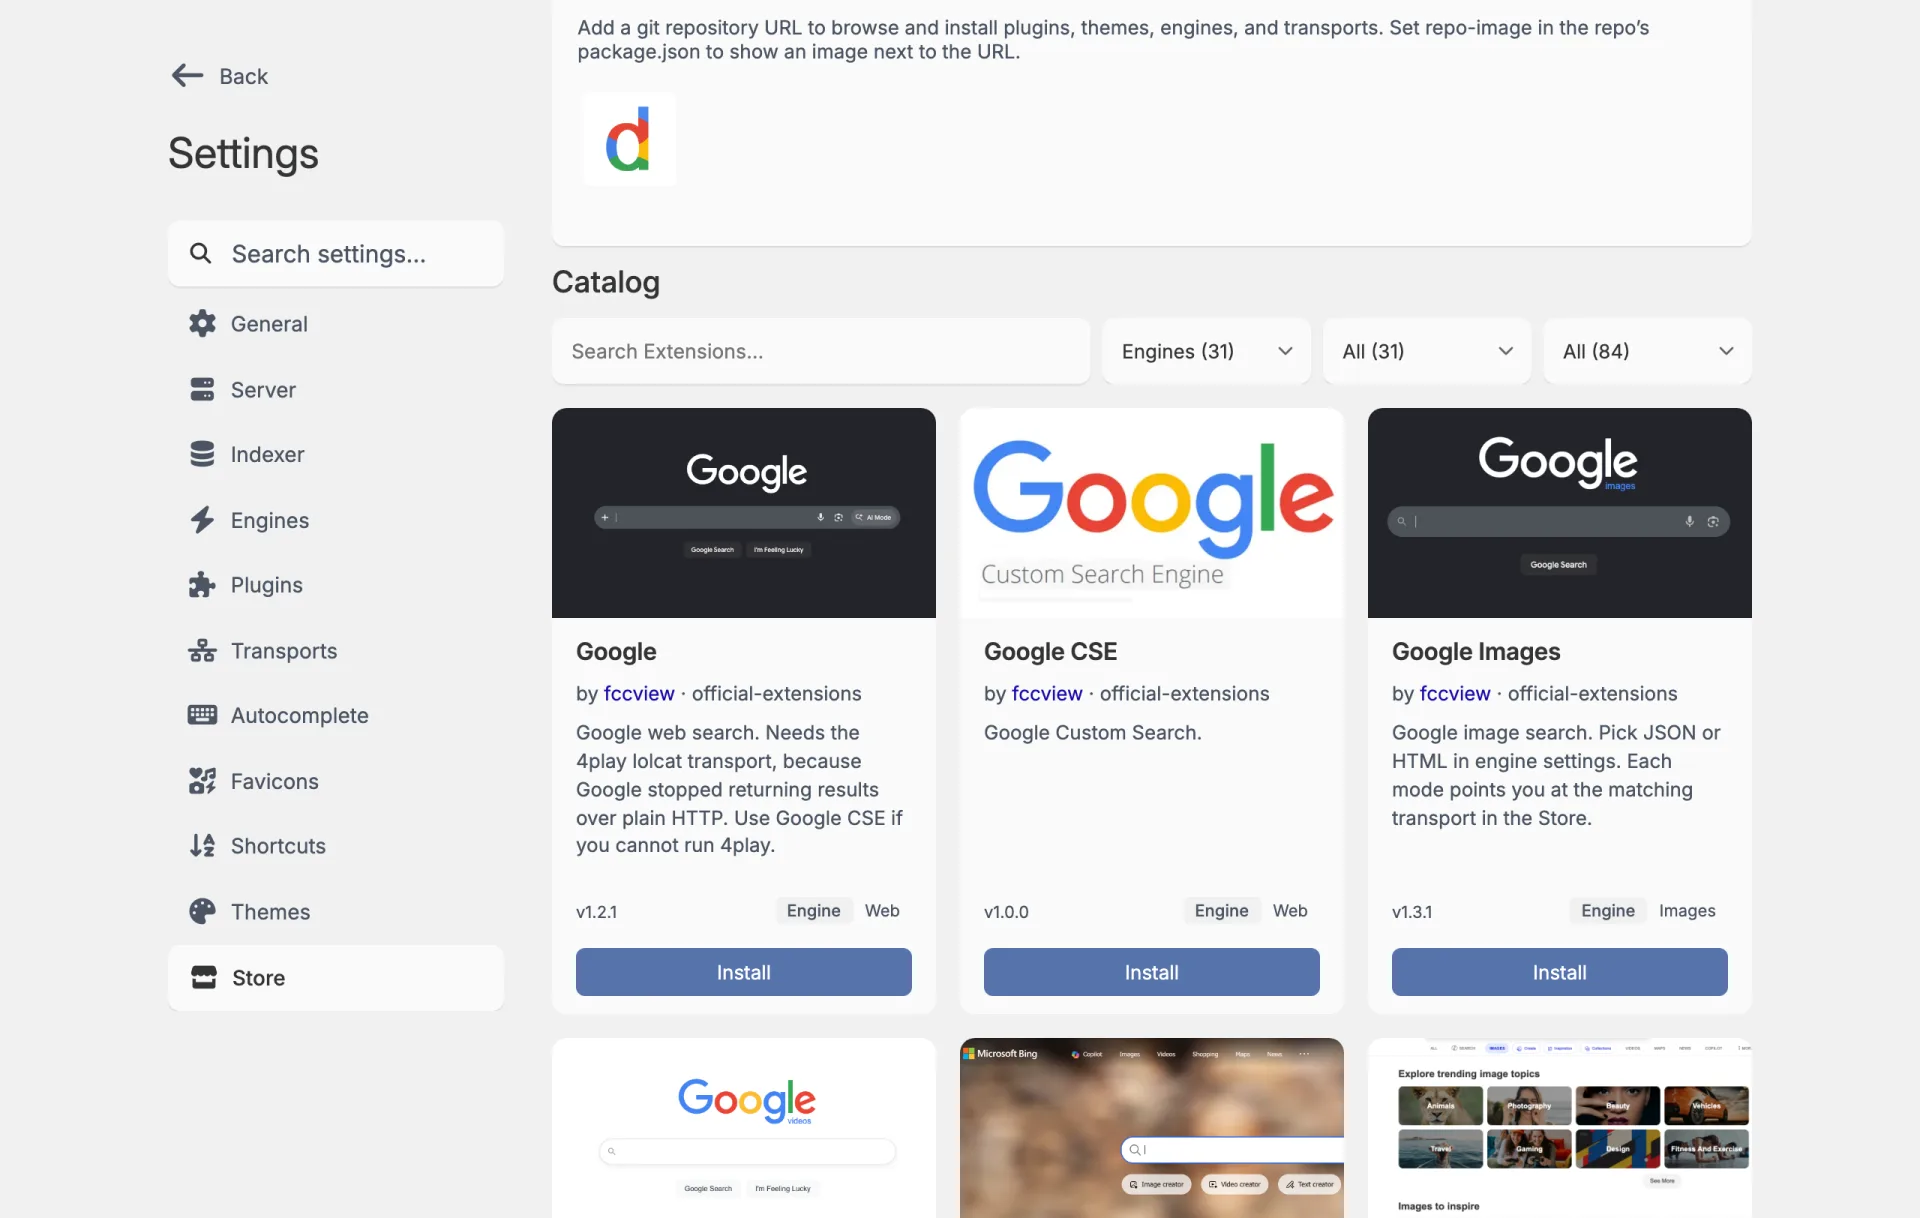
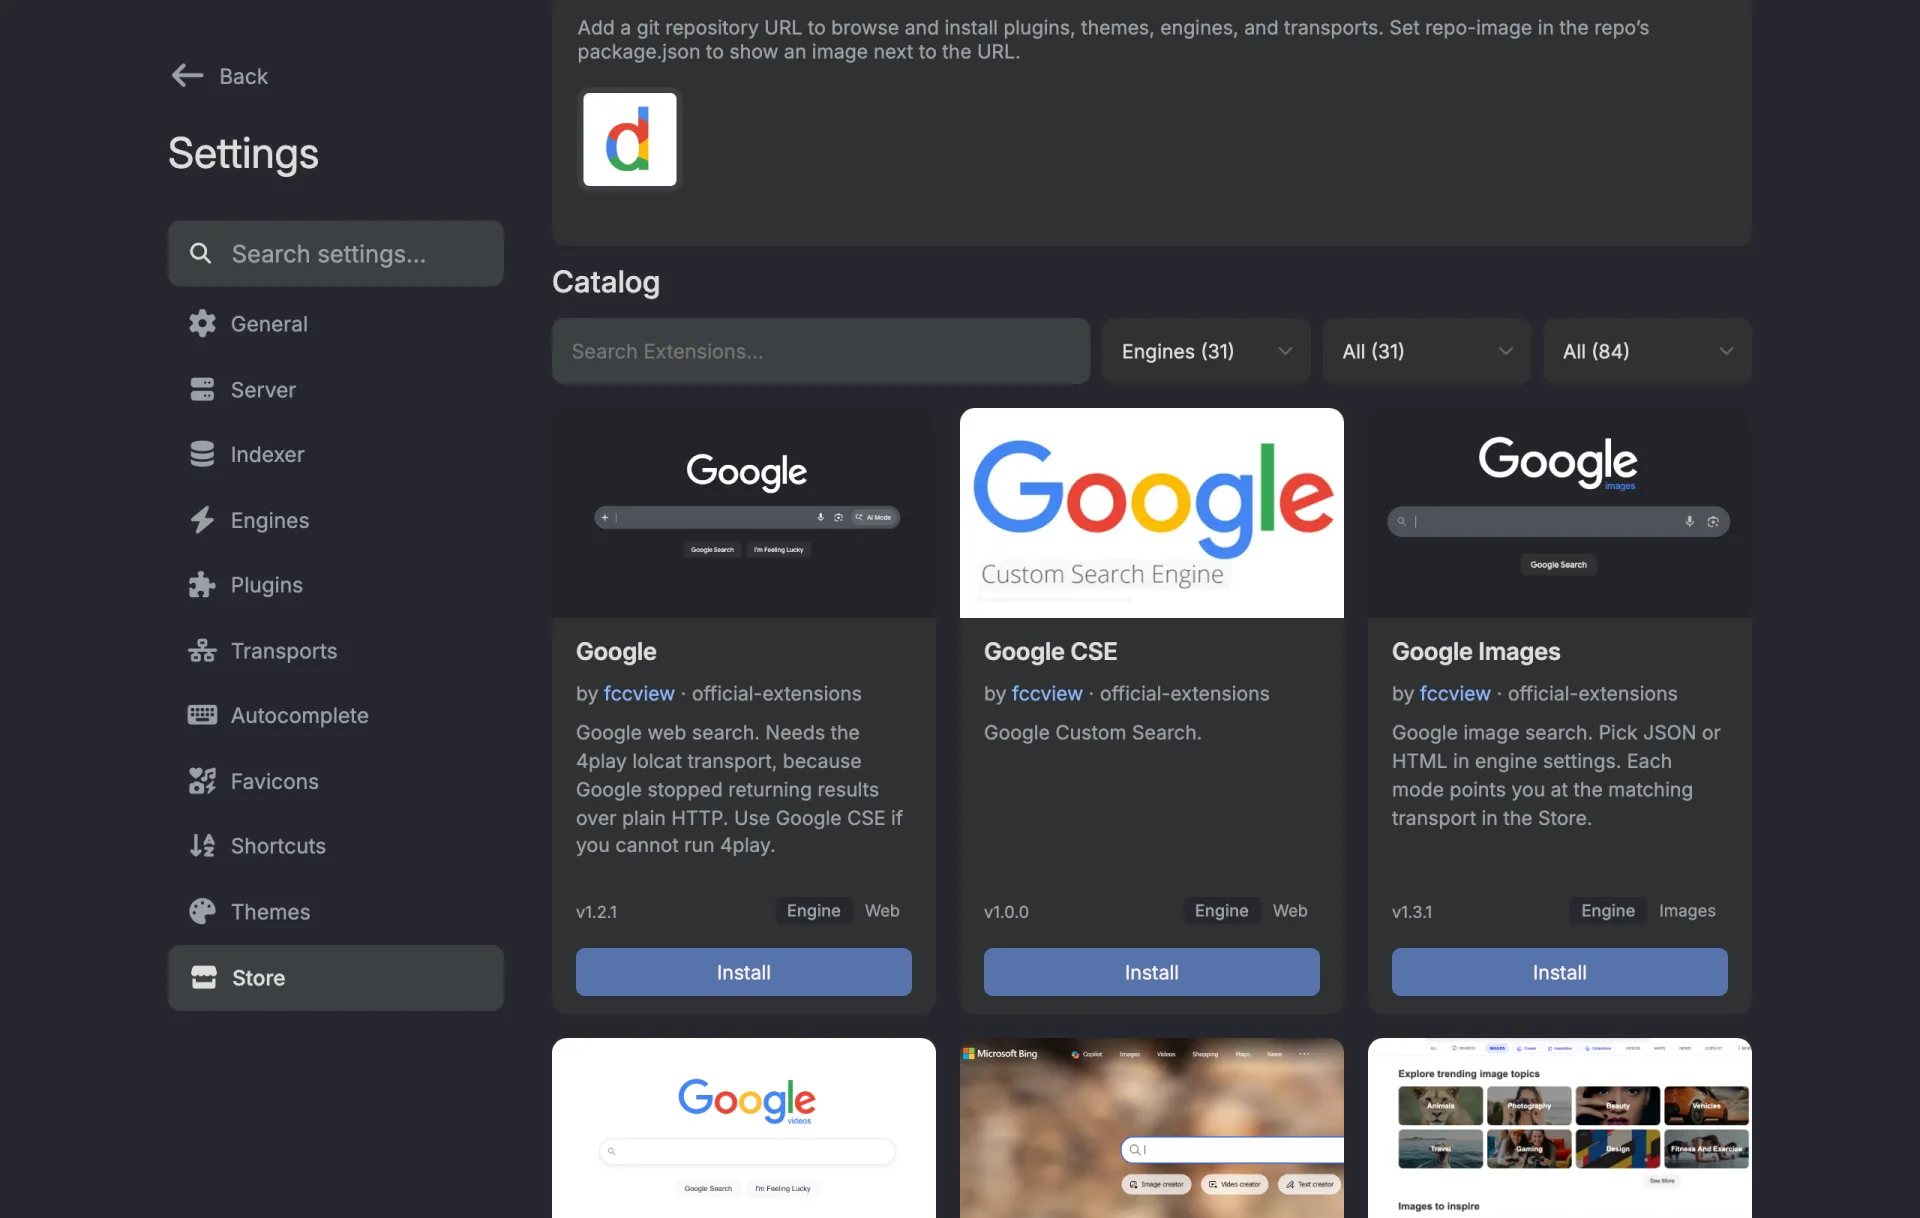
The catalog filtered down to engines. -
Hit Install on two or three. DuckDuckGo and Wikipedia are a safe start, and the search box above the catalog saves you some scrolling. Installed cards get a green dot and an Uninstall button.
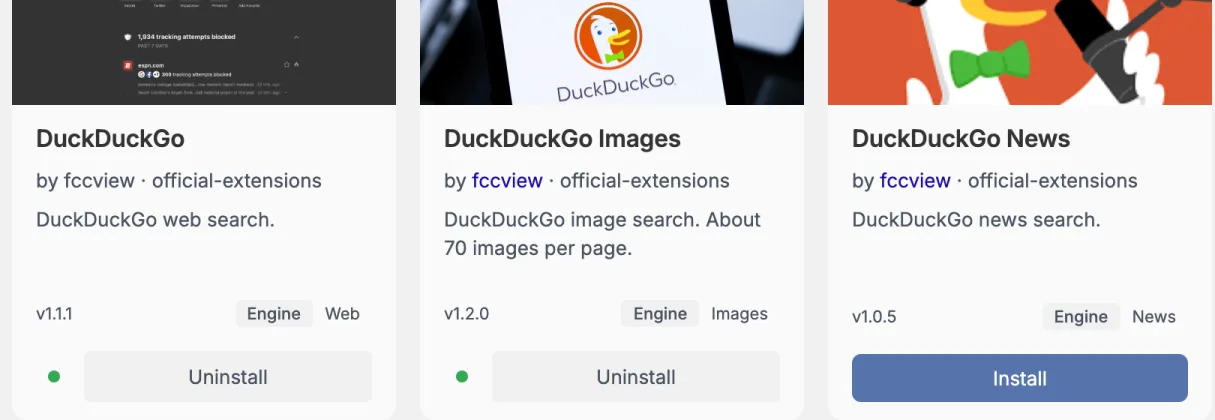
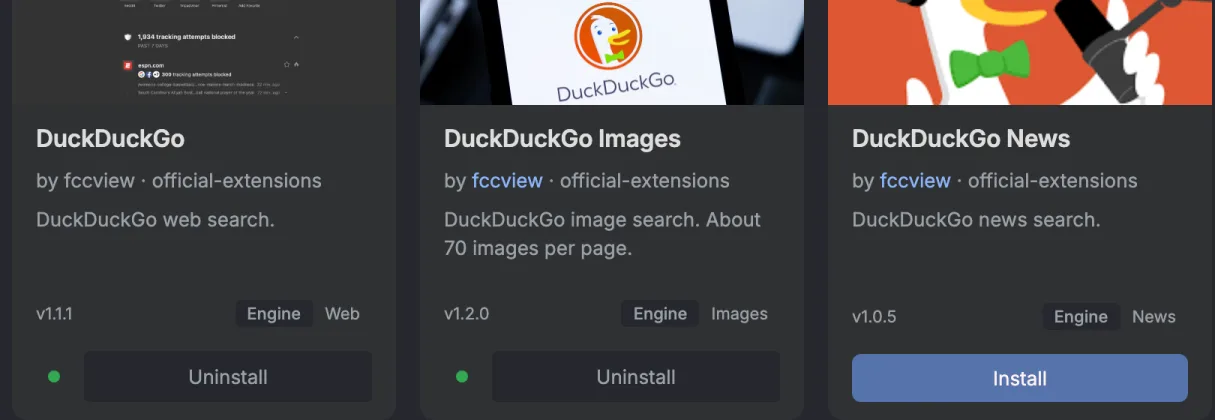
Two installed engines next to one that is not. -
New engines get switched on for you, but have a look in Settings, Engines anyway. Engines are grouped by type, and the green tag next to each name is its bang. An engine you switch off still answers its bang, the card tells you so.
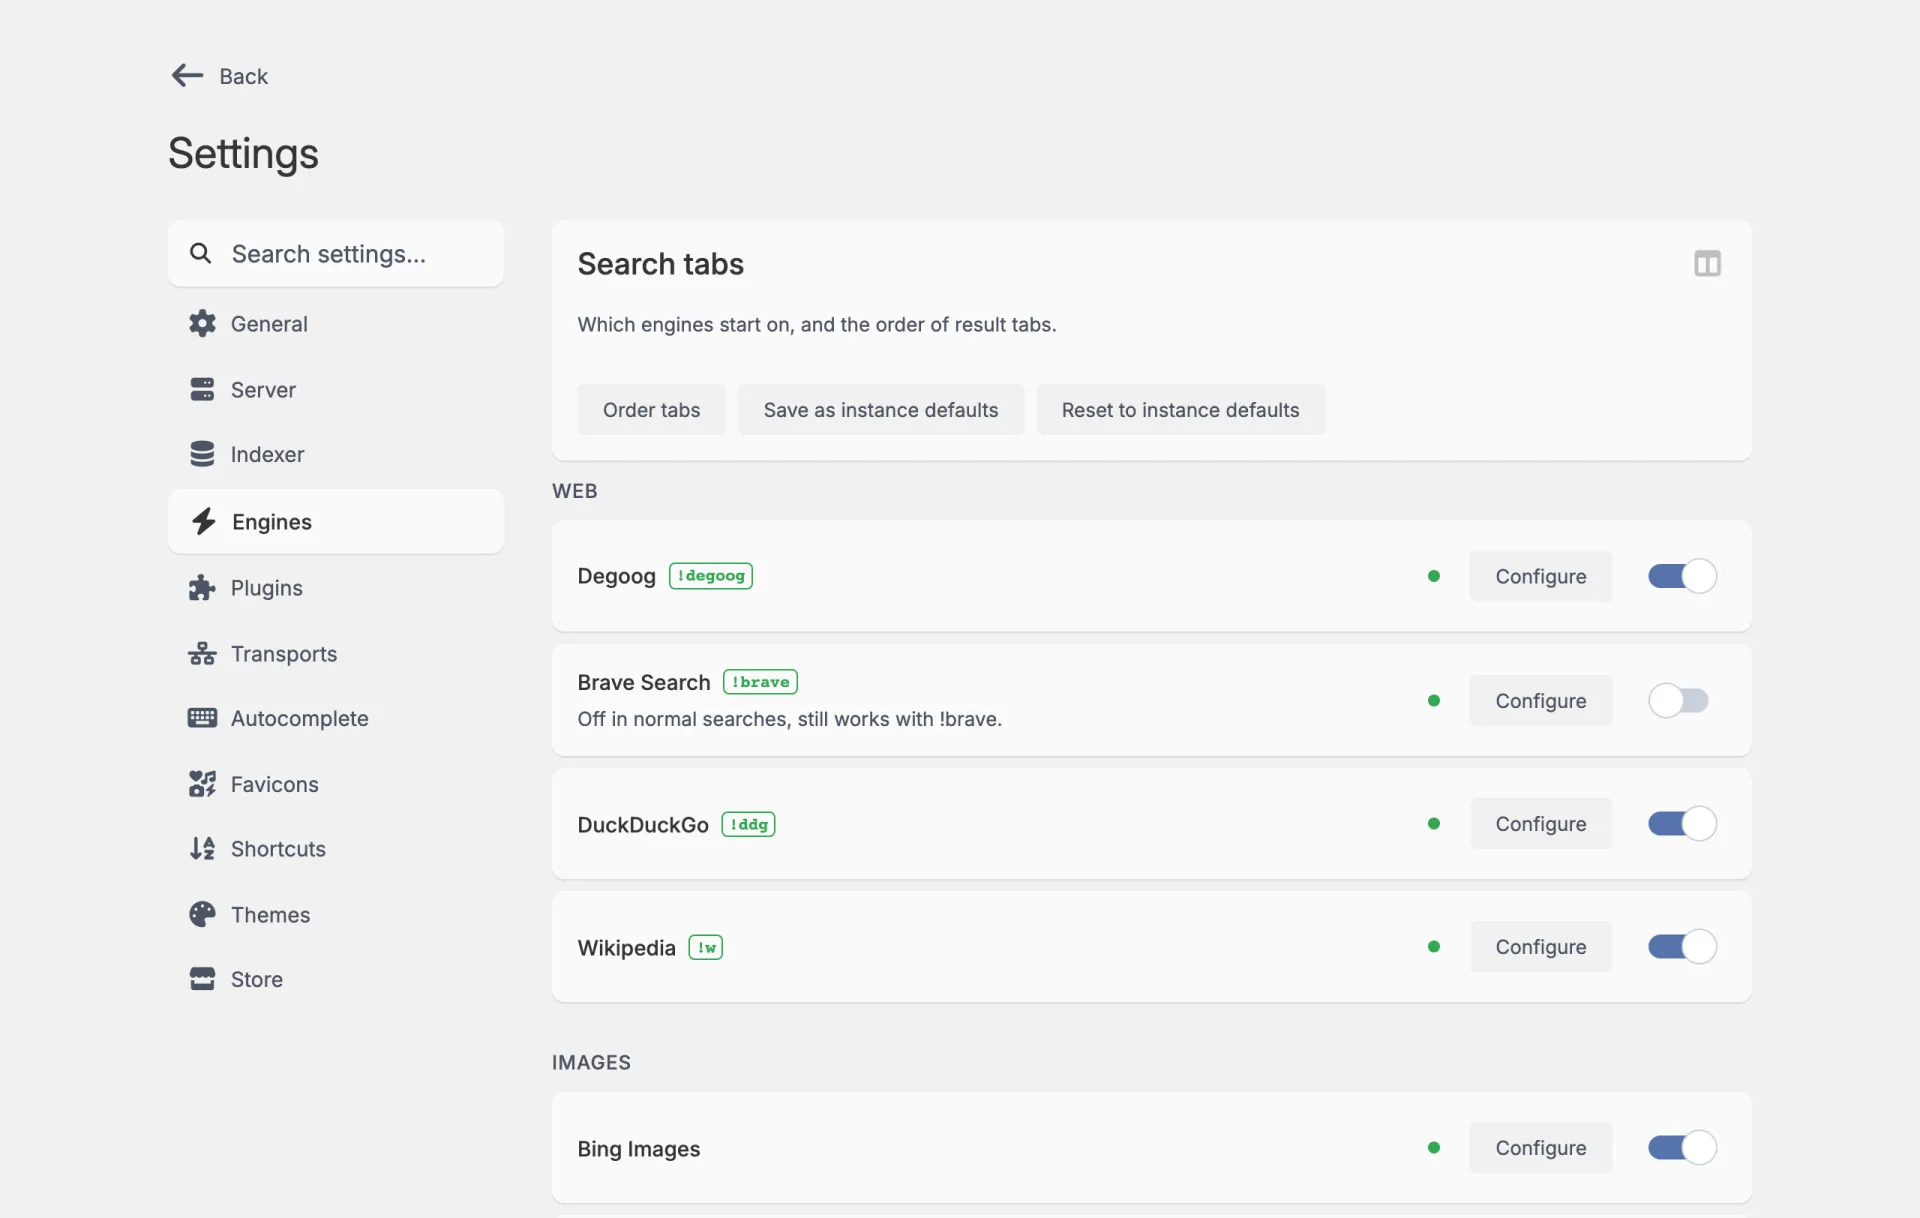
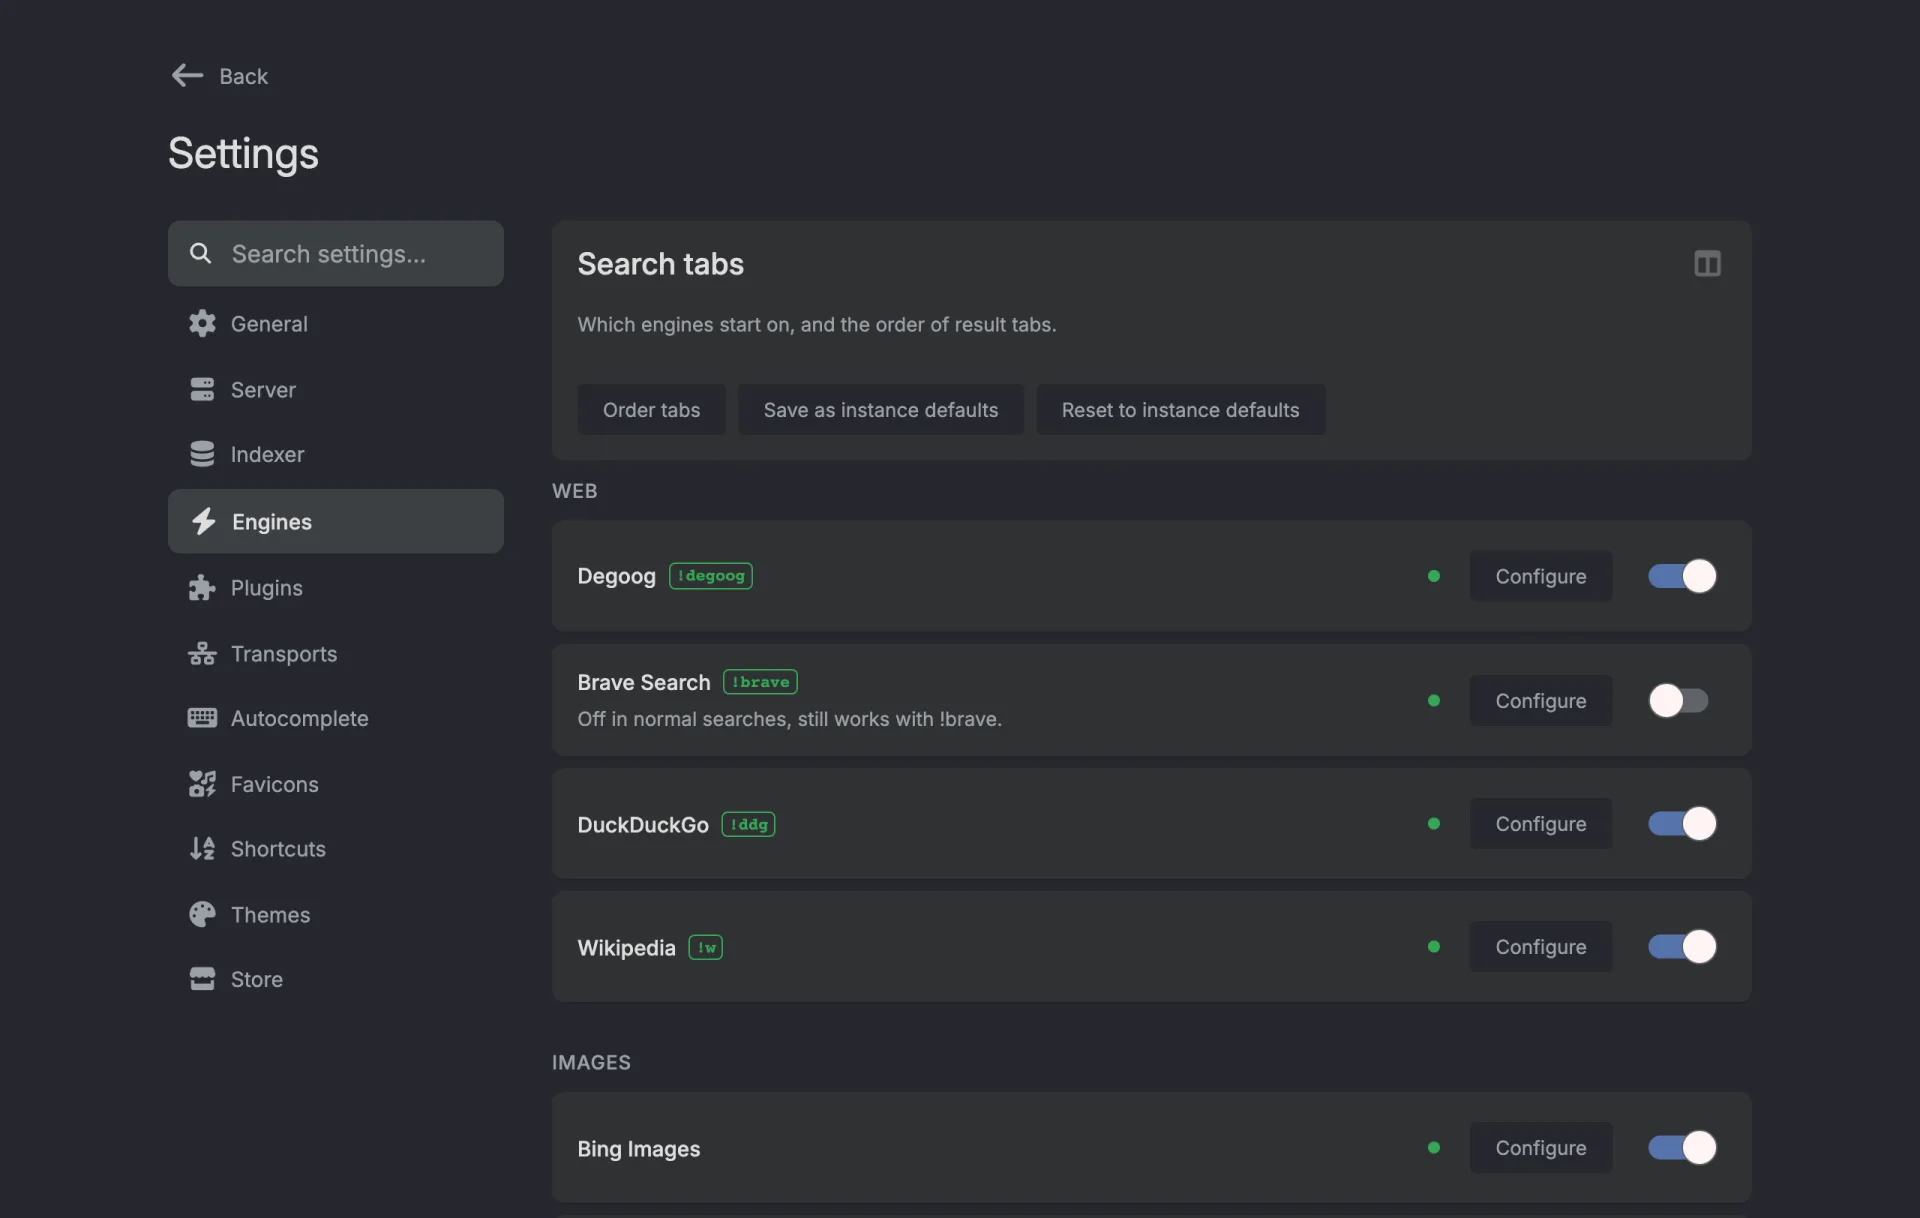
The Engines tab, with Brave switched off but still reachable through !brave. -
For suggestions, go back to the Store, pick Autocomplete in the same drop-down and install one. The provider's name shows next to each suggestion.


Suggestions from DuckDuckGo Autocomplete.
4. Your first search
Type something and press Enter. What you should see:
- A row of tabs across the top, one per engine type you installed. Install only a web engine and you get one tab. Add an image engine and an Images tab appears.
- Merged results, deduplicated. A result found by three engines shows all three as its sources.
- A sidebar with engine timings, so you can see which engine is slow and which one failed.
If it comes back empty, that is almost always "no engines installed" or "the engine got blocked". Troubleshooting and Tips and tricks cover both.
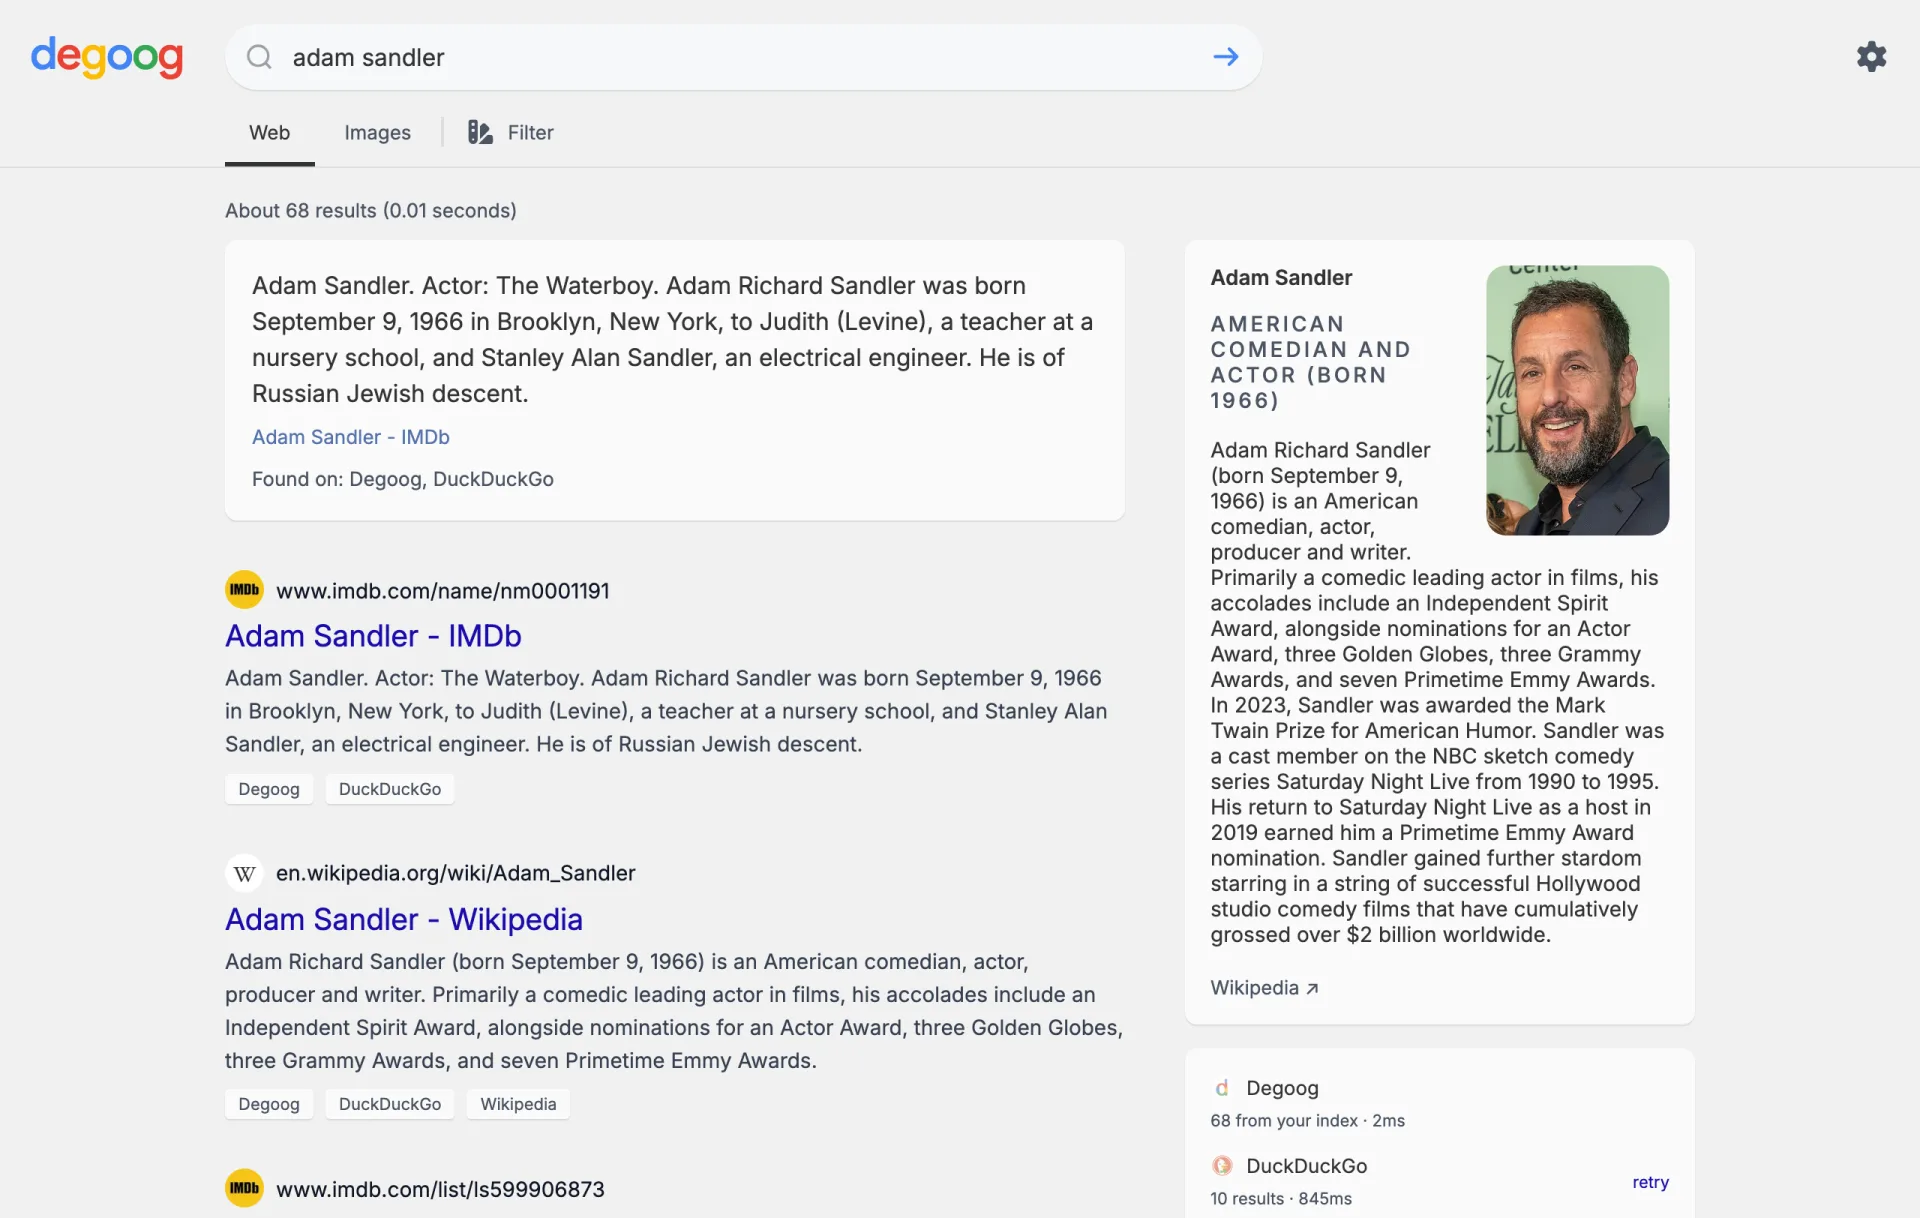
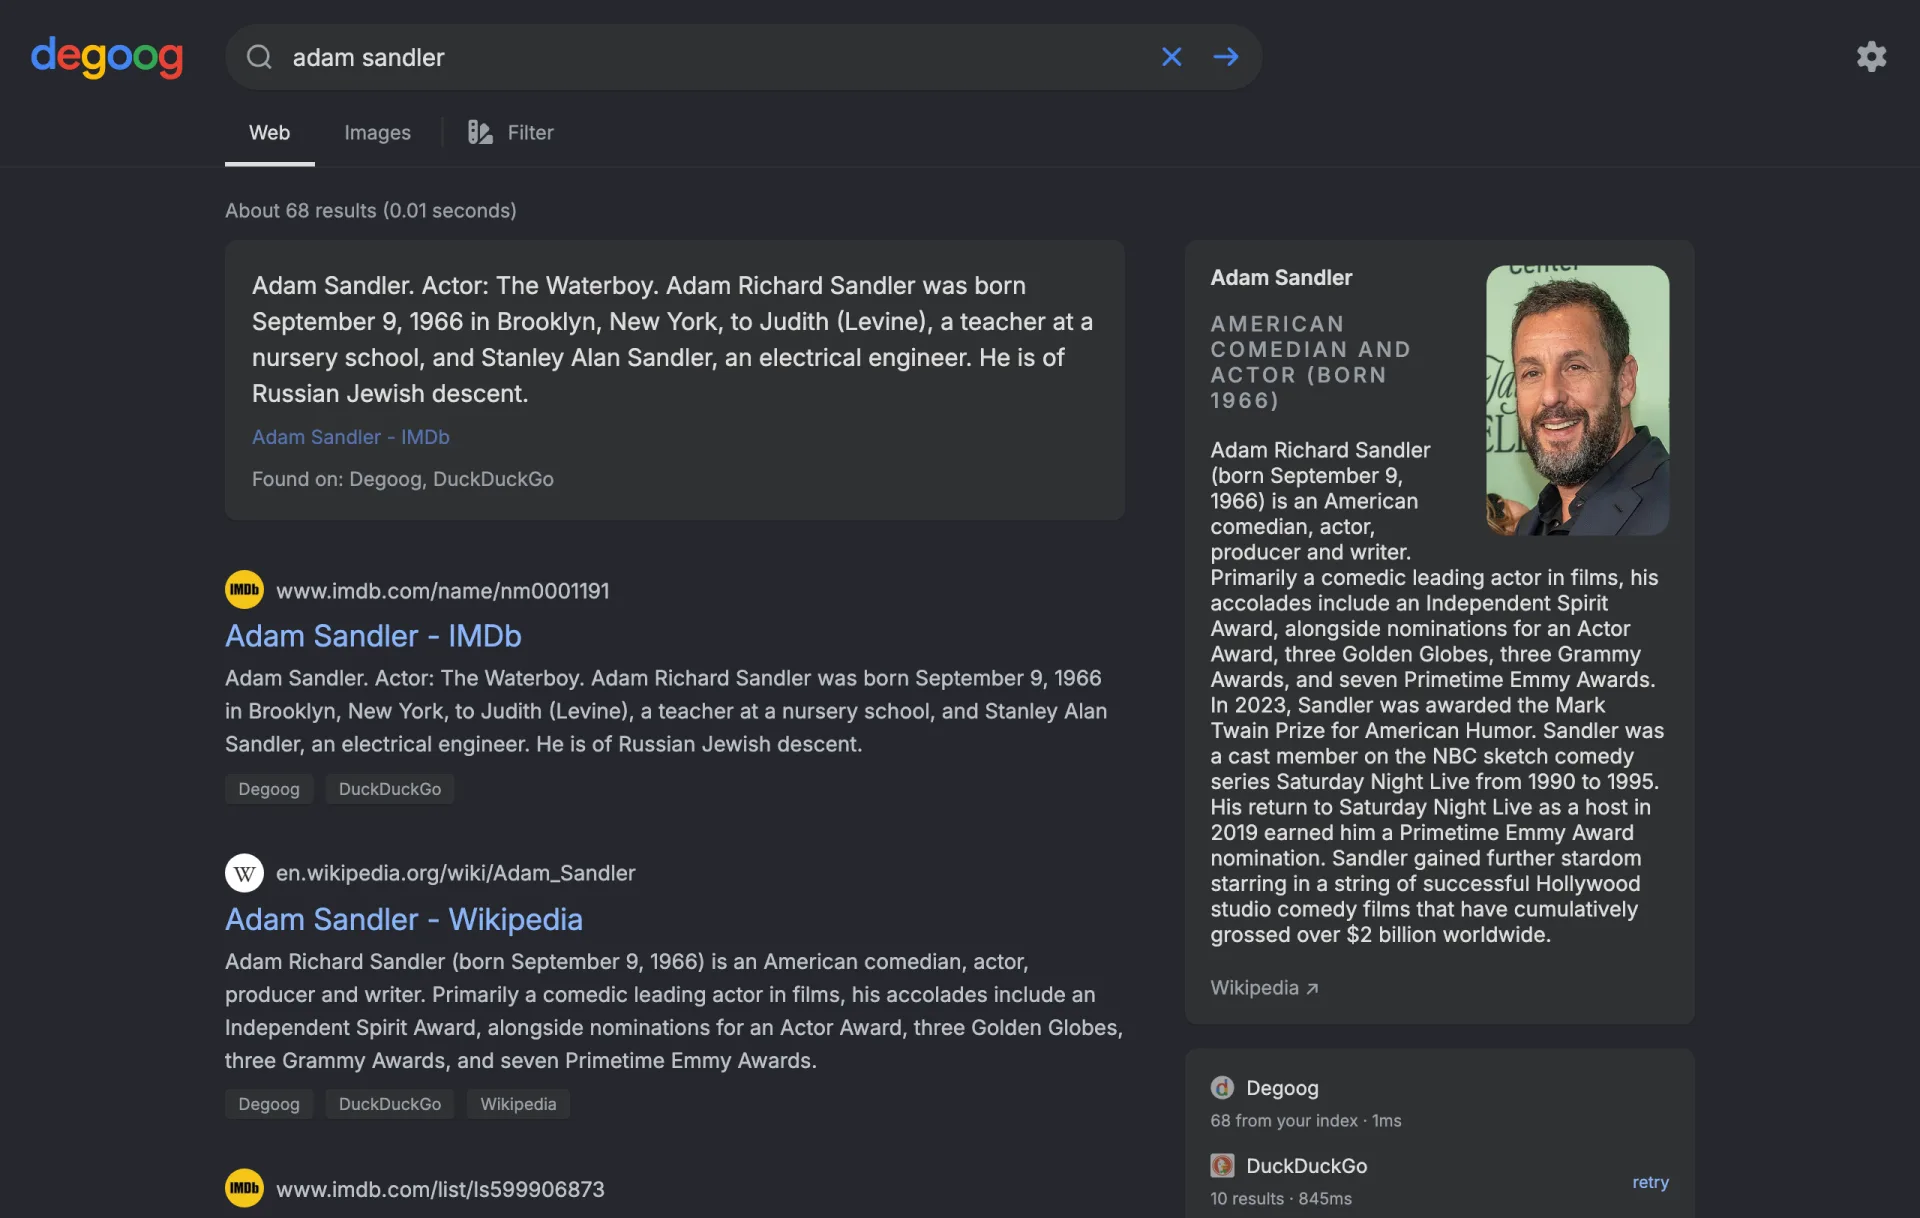
An engine that failed shows 0 results in that sidebar. Hover it and it tells you why, rate limited, blocked, timed out and so on.
5. Make it your browser's search engine
Degoog publishes an OpenSearch descriptor at /opensearch.xml.
Most browsers pick this up automatically once you have visited the site.
- Firefox: visit your instance, then open the address bar dropdown or Settings, Search. Degoog appears in the list of available search engines and can be made the default.
-
Chrome, Edge, Brave: visit your instance, then
Settings, Search engine, Manage search engines. Degoog is usually
already listed under the inactive shortcuts. If it is not, add it manually
with the URL
http://your-degoog/search?q=%s.
Autocomplete in the browser's own address bar comes from
/api/suggest/opensearch, which is part of the same descriptor, so
suggestions follow whichever provider you enabled.
6. Optional: install it as an app
Degoog ships a web app manifest and a service worker, so it can be installed to your home screen or dock. Your browser will usually offer this by itself. If it does not, Settings, General, Install app has a Show install prompt button that asks again.
Installing requires HTTPS and a browser that supports progressive web apps.
Over plain http:// on a LAN address, the prompt will not appear
no matter how many times you press the button.
Beginner guide to Docker
Welcome! If you are reading this, you might be new to running your own software. Let us break it down simply. Think of Docker as a shipping container. Instead of installing all the messy requirements for an app directly onto your computer, Docker grabs a neat pre packaged box that has everything the app needs to run perfectly. All you do is tell Docker to start the box.
To get started, you will need to install
Docker
Desktop
if you are on Windows or Mac, or
Docker Engine
if you are using Linux. Once installed, the easiest way to launch Degoog is
using something called
Docker Compose. It uses
a simple text file to tell Docker exactly how to run the container.
Just copy one of the compose files from the
Run it section above (start with
simple.yml), save it in a folder as
docker-compose.yml, open your terminal or command prompt in that
folder, and type docker compose up -d.
That command pulls the Degoog box from the internet and starts it up quietly
in the background. Once it finishes, you can just open your web browser and go
to http://localhost:4444 to see your brand new search engine.